Webアプリケーションを構成しているDBはテーブル同士が複雑に関連し合っていることが一般的で、それぞれのテーブルが個別で完結するようなシステムは基本的にはありません。
そういったテーブル同士の紐づきをリレーションと言い、LaravelではModelで簡単にリレーションを作り、管理することができます。
今回の記事ではLaravelのEloquentによるリレーションについての紹介をしていきたいと思います。
1対1のリレーション
まずはシンプルな1対1のリレーションで解説してきます。
親テーブルにusersテーブルを定義し、子テーブルにphonesテーブルを定義して、リレーションを定義していきましょう。
1人のユーザーが1つのケータイを持ち、1つのケータイの所有者は1人のユーザーのみといった関係になります。
マイグレーションの作成
usersテーブルを定義します。
idカラムとnameカラムを持つシンプルなテーブルです。
$ php artisan make:migration create_users_table --create=users<?php
use Illuminate\Database\Migrations\Migration;
use Illuminate\Database\Schema\Blueprint;
use Illuminate\Support\Facades\Schema;
class CreateUsersTable extends Migration
{
/**
* Run the migrations.
*
* @return void
*/
public function up()
{
Schema::create('users', function (Blueprint $table) {
$table->id();
$table->string('name');
$table->timestamps();
});
}
/**
* Reverse the migrations.
*
* @return void
*/
public function down()
{
Schema::dropIfExists('users');
}
}
次にphonesテーブルを定義します。
$ php artisan make:migration create_phones_table --create=phones<?php
use Illuminate\Database\Migrations\Migration;
use Illuminate\Database\Schema\Blueprint;
use Illuminate\Support\Facades\Schema;
class CreatePhonesTable extends Migration
{
/**
* Run the migrations.
*
* @return void
*/
public function up()
{
Schema::create('phones', function (Blueprint $table) {
$table->id();
$table->string('name');
$table->unsignedBigInteger('user_id');
$table->timestamps();
$table->foreign('user_id')->references('id')->on('users');
});
}
/**
* Reverse the migrations.
*
* @return void
*/
public function down()
{
Schema::dropIfExists('phones');
}
}
phonesテーブルにはusersテーブルとの紐づくためのuser_idカラムを用意しています。
下記のコードでuser_idカラムに外部キー制約を定義しています。
$table->foreign('user_id')->references('id')->on('users');foreignメソッドの引数には、外部キーであるuser_idを指定。onメソッドの引数には、参照先のテーブルusersを指定。
referencesメソッドの引数には、外部キーuser_idと紐づくusersテーブルのidを指定することで、外部キー制約を定義することができます。
モデルでリレーションを定義する
リレーションは、モデルで定義していきます。
hasOneメソッド
1対1のusersテーブル(親テーブル)でphonesテーブル(子テーブル)のリレーションを定義する際はhasOneメソッドを使います。
$ php artisan make:model Models/User
$ php artisan make:model Models/Phone
<?php
namespace App\Models;
use Illuminate\Database\Eloquent\Model;
class User extends Model
{
public function phone()
{
return $this->hasOne('App\Models\Phone');
}
}
belongsToメソッド
先ほどとは逆に、phonesテーブル(子テーブル)でusersテーブル(親テーブル)のリレーションを定義する際はbelongsToメソッドを使います。
<?php

namespace App\Models;

use Illuminate\Database\Eloquent\Model;

class Phone extends Model
{
    public function user()
    {
        return $this->belongsTo('App\Models\User');
    }
}
以上でリレーションの定義ができました。
リレーション先のデータを取得
それでは定義したリレーションを元にリレーション先のデータを取得してみましょう。
usersテーブルとphonesテーブルには下記のようなデータを用意しました。
mysql> select * from users;
+----+-------+---------------------+---------------------+
| id | name  | created_at          | updated_at          |
+----+-------+---------------------+---------------------+
|  1 | user1 | 2022-01-30 23:42:24 | 2022-01-30 23:42:24 |
|  2 | user2 | 2022-01-30 23:42:24 | 2022-01-30 23:42:24 |
|  3 | user3 | 2022-01-30 23:42:24 | 2022-01-30 23:42:24 |
+----+-------+---------------------+---------------------+

mysql> select * from phones;
+----+--------+---------+---------------------+---------------------+
| id | name   | user_id | created_at          | updated_at          |
+----+--------+---------+---------------------+---------------------+
|  1 | phone1 |       1 | 2022-01-30 23:42:24 | 2022-01-30 23:42:24 |
|  2 | phone2 |       2 | 2022-01-30 23:42:24 | 2022-01-30 23:42:24 |
|  3 | phone3 |       3 | 2022-01-30 23:42:24 | 2022-01-30 23:42:24 |
+----+--------+---------+---------------------+---------------------+
コントローラーで確認してみましょう。
親テーブルからリレーション定義した子テーブルのデータを取得します。
<?php
namespace App\Http\Controllers;
use Illuminate\Http\Request;
use App\Models\User;
class UserController extends Controller
{
public function index()
{
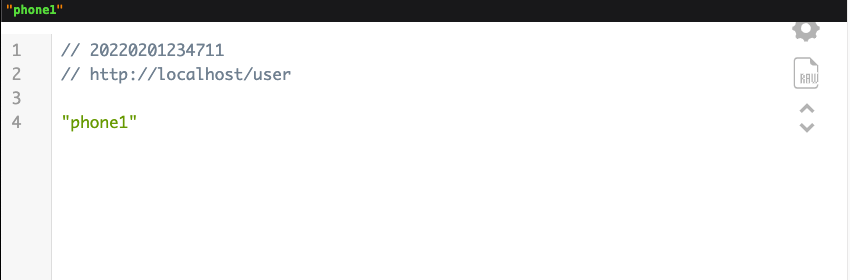
$phone = User::find(1)->phone;
dump($phone->name);
}
}findメソッドでidが1のUserクラスのインスタンスを生成します。
生成したインスタンスに対して、hasOneメソッドでリレーション定義したphoneメソッドを使用することでidが1のユーザーに紐づくケータイのデータを取得することができます。
そのため、$phone->nameで「phone1」が取得できます。
また、子テーブルでリレーション定義した親テーブルのデータを取得しみましょう。
<?php
namespace App\Http\Controllers;
use Illuminate\Http\Request;
use App\Models\Phone;
class PhoneController extends Controller
{
public function index()
{
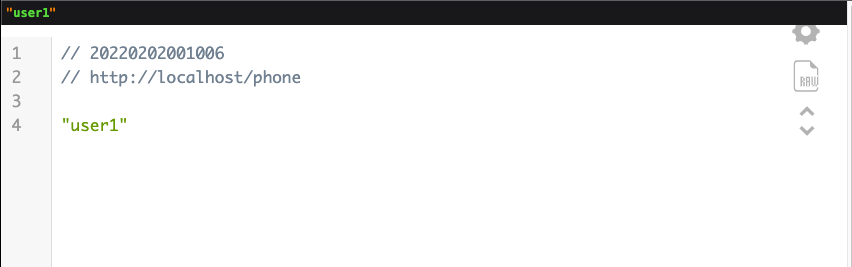
$user = Phone::find(1)->user;
dump($user->name);
}
}
idが1のPhoneインスタンスに対して、belongsToメソッドでリレーション定義したuserメソッドを使用して、idが1のケータイを所有するユーザーである「user1」が取得できます。
1対多のリレーション
次に1対多のリレーションを紹介していきます。
1対多のリレーションは、最もよくWebアプリケーション開発を行う際に使われています。
1人のユーザーが複数の記事を投稿するようなリレーションを想定して解説していきます。
マイグレーションの作成
親テーブルであるusersテーブルは先ほど使用したものをそのまま使用します。
ここでは子テーブルであるpostsテーブルだけ定義していきます。
$ php artisan make:migration create_posts_table --create=posts<?php
use Illuminate\Database\Migrations\Migration;
use Illuminate\Database\Schema\Blueprint;
use Illuminate\Support\Facades\Schema;
class CreatePostsTable extends Migration
{
/**
* Run the migrations.
*
* @return void
*/
public function up()
{
Schema::create('posts', function (Blueprint $table) {
$table->id();
$table->string('title');
$table->string('body');
$table->unsignedBigInteger('user_id');
$table->timestamps();
$table->foreign('user_id')->references('id')->on('users');
});
}
/**
* Reverse the migrations.
*
* @return void
*/
public function down()
{
Schema::dropIfExists('posts');
}
}
phonesテーブルと同様にusersテーブルと紐づくための外部キーuser_idカラムを用意し、外部キー制約を定義しています。
モデルでリレーションを定義する
hasManyメソッド
1対多のusersテーブル(親テーブル)でpostsテーブル(子テーブル)のリレーションを定義する際はhasManyメソッドを使います。
$ php artisan make:model Models/Postpublic function posts()
{
return $this->hasMany('App\Models\Post');
}1対多のpostsテーブル(子テーブル)でusersテーブル(親テーブル)のリレーションを定義する際は、1対1の時と同様にbelongsToメソッドを使います。
<?php

namespace App\Models;

use Illuminate\Database\Eloquent\Model;

class Post extends Model
{
    public function user()
    {
        return $this->belongsTo('App\Models\User');
    }
}
以上で、1対他のリレーション定義は完了です。
リレーション先のデータを取得
それでは、1対他のリレーションでもリレーション先のデータを取得してみましょう。
usersテーブルは先ほどと同様のデータを使用し、postsテーブルには下記のデータを用意しました。
mysql> select * from posts;
+----+--------+-------+---------+---------------------+---------------------+
| id | title  | body  | user_id | created_at          | updated_at          |
+----+--------+-------+---------+---------------------+---------------------+
|  1 | title1 | body1 |       1 | 2022-01-30 23:42:24 | 2022-01-30 23:42:24 |
|  2 | title2 | body2 |       1 | 2022-01-30 23:42:24 | 2022-01-30 23:42:24 |
|  3 | title3 | body3 |       2 | 2022-01-30 23:42:24 | 2022-01-30 23:42:24 |
+----+--------+-------+---------+---------------------+---------------------+
コントローラーで確認してみましょう。
親テーブルのデータから紐づく複数の子テーブルのデータを取得します。
<?php
namespace App\Http\Controllers;
use Illuminate\Http\Request;
use App\Models\User;
class UserController extends Controller
{
public function index()
{
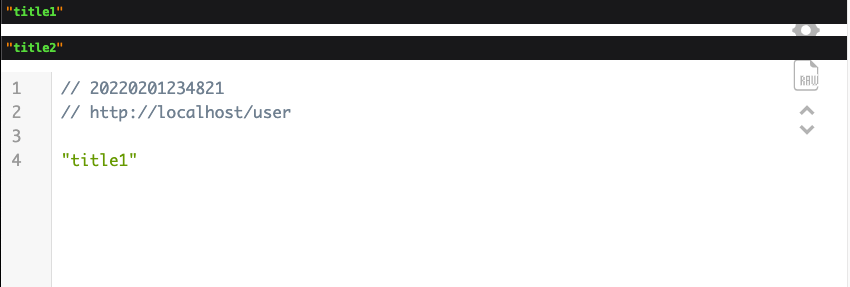
$posts = User::find(1)->posts;
foreach ($posts as $post) {
dump($post->title);
}
}
}idが1のUserモデルのインスタンスに対して、リレーション定義したpostsメソッドを使用することでidが1のユーザーに紐づく記事のデータを取得することができます。
そのため、$phonesをforeach文で繰り返し、$post->titleで「title1」と「title2」が複数取得できていることが確認できます。
多対多のリレーション
最後は多対対のリレーションを解説していきます。
ユーザーは複数の役割を持つし、役割に対しても複数のユーザーが存在すると言うような場合です。
マイグレーションの作成
ユーザーテーブルはそのまま使用し、役割テーブルを定義していきます。
また、多対多のように紐づくようなリレーションの場合は中間テーブルが必要になりますので、そちらの中間テーブルも定義します。
$ php artisan make:migration create_roles_table --create=roles
$ php artisan make:migration create_role_user_table --create=role_user
<?php
use Illuminate\Database\Migrations\Migration;
use Illuminate\Database\Schema\Blueprint;
use Illuminate\Support\Facades\Schema;
class CreateRolesTable extends Migration
{
/**
* Run the migrations.
*
* @return void
*/
public function up()
{
Schema::create('roles', function (Blueprint $table) {
$table->id();
$table->string('name');
$table->timestamps();
});
}
/**
* Reverse the migrations.
*
* @return void
*/
public function down()
{
Schema::dropIfExists('roles');
}
}
rolesテーブルにはnameカラムを持つシンプルな定義です。
<?php

use Illuminate\Database\Migrations\Migration;
use Illuminate\Database\Schema\Blueprint;
use Illuminate\Support\Facades\Schema;

class CreateRoleUserTable extends Migration
{
    /**
     * Run the migrations.
     *
     * @return void
     */
    public function up()
    {
        Schema::create('role_user', function (Blueprint $table) {
            $table->unsignedBigInteger('role_id');
            $table->unsignedBigInteger('user_id');

            $table->foreign('role_id')->references('id')->on('roles');
            $table->foreign('user_id')->references('id')->on('users');
        });
    }

    /**
     * Reverse the migrations.
     *
     * @return void
     */
    public function down()
    {
        Schema::dropIfExists('role_user');
    }
}
中間テーブルであるrole_userテーブルにrole_idカラムとuser_idカラムを用意し、それぞれに外部キー制約を定義します。
モデルでリレーションを定義する
belongsToManyメソッド
Roleモデルを作成し、Userモデルにリレーションを定義します。
多対多のリレーションを定義するにはbelongsToManyメソッドを使用します。
$ php artisan make:model Models/Rolepublic function roles()
{
return $this->belongsToMany('App\Models\Role');
}多対多のリレーションの場合でも、定義するのはたったこれだけです。
リレーション先のデータを取得
それでは、コントローラーでユーザーに紐づく役割のデータを取得してみましょう。
役割テーブルと中間テーブルのデータは下記のように用意しました。
mysql> select * from roles;
+----+-------+---------------------+---------------------+
| id | name  | created_at          | updated_at          |
+----+-------+---------------------+---------------------+
|  1 | role1 | 2022-01-30 23:42:24 | 2022-01-30 23:42:24 |
|  2 | role2 | 2022-01-30 23:42:24 | 2022-01-30 23:42:24 |
|  3 | role3 | 2022-01-30 23:42:24 | 2022-01-30 23:42:24 |
|  4 | role4 | 2022-01-30 23:42:24 | 2022-01-30 23:42:24 |
|  5 | role5 | 2022-01-30 23:42:24 | 2022-01-30 23:42:24 |
|  6 | role6 | 2022-01-30 23:42:24 | 2022-01-30 23:42:24 |
+----+-------+---------------------+---------------------+

mysql> select * from role_user;
+---------+---------+
| role_id | user_id |
+---------+---------+
|       1 |       1 |
|       6 |       1 |
|       2 |       2 |
|       6 |       2 |
|       3 |       3 |
|       6 |       3 |
+---------+---------+
<?php
namespace App\Http\Controllers;
use Illuminate\Http\Request;
use App\Models\User;
class UserController extends Controller
{
public function index()
{
$roles = User::find(1)->roles;
foreach ($roles as $role) {
dump($role->name);
}
}
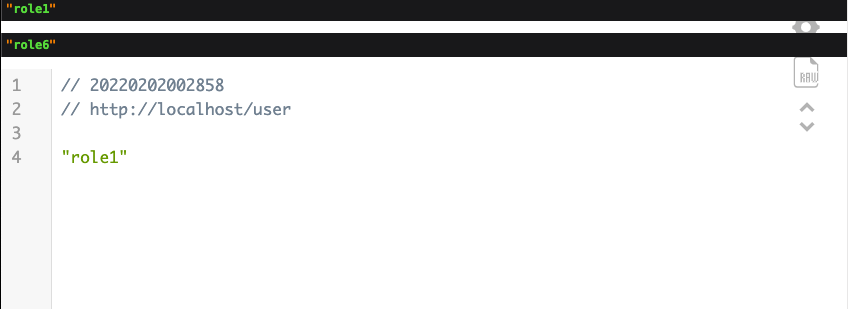
}belongsToManyメソッドでリレーション定義したrolesメソッドを使用することでリレーション先のデータを取得できます。
この場合、idが1のユーザーに紐づく役割を複数取得することができます。
そのため、$usersをforeach文で繰り返し、$role->titleで「role1」と「role6」が複数取得できていることが確認できます。
まとめ
Laravelでリレーション定義する方法を紹介しました。
すごく簡単にリレーションを定義することができたのではないでしょうか?
今回の内容を難しいと感じるようであれば、恐らくデータベースに関する事前知識が不足していることによるものだと思います。
データベースの基礎知識はWebアプリケーション開発を行う上で、必須となるスキルですので是非これを機に学習しておきましょう。